
So.....our Super Saturday was awesome, as it always is every year!! Very crazy & busy....but AWESOME!! The ladies who arranged it all did wonderfully, and all the teachers did great!
I taught my Halloween & Christmas countdown blocks and everyone who made them did a smashing job (trying to be a little British here :) Thanks all!!
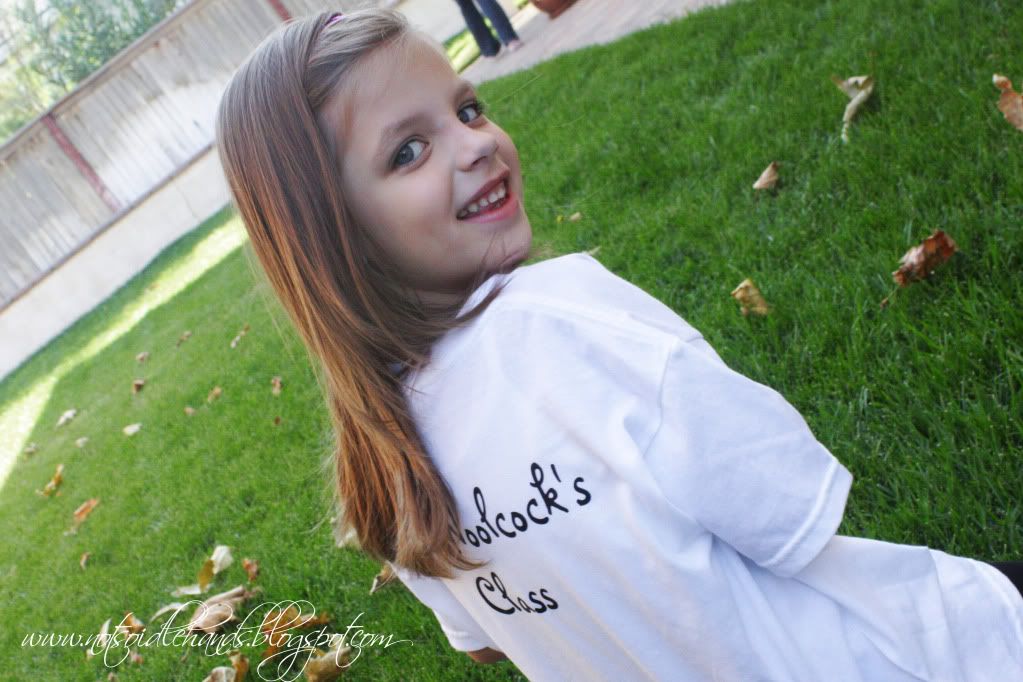
Anyhoo, I promised to show you all the cute Kindergarten field trip t-shirts I made for my daughter's school.....so here they are!!
(and thanks a million bazillion to all the moms who came equipped with irons so we were able to get these done in 1 morning!)


Anyone wanna take a stab at guessing where they went for their first trip? Anyone......?
I've made these (in one form or another) for my older daughter's kinder class and then again 1st grade and they are so fun for the kiddos!! We will add a picture for each place they visit through the year & they get to have a fun keepsake.
Well, this year it was for allllllllll 4 kinder classes, so I looked for a slightly easier method to use than paint and stencil. So I decided it was time to try my hand at some iron-on vinyl. And, even though it was a bit more costly.......it saved so much time!
Make sure to heat up your iron to 300 degrees or cotton setting....this may be different depending on what brand you use, so be sure to check! Also, pre-wash them in cold and hang to dry.....or if you want to pre-shrink, now is the time to do it (no dryer afterwards)
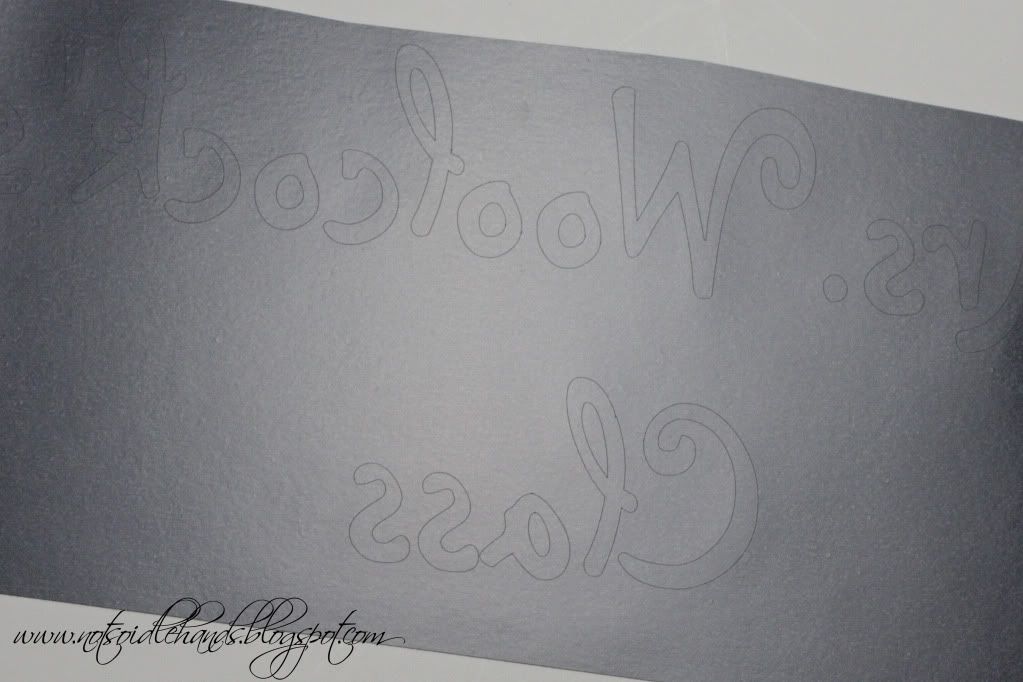
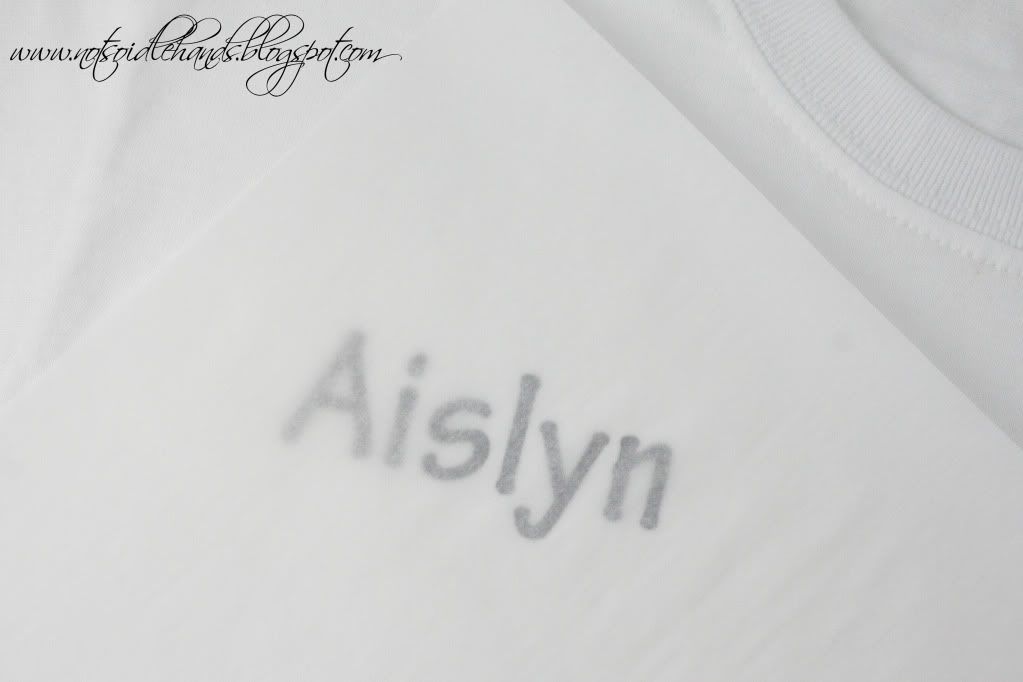
I started out by cutting the words and images mirror image on my vinyl cutter......all 80 of each baby!
The vinyl looks a little lighter on the outside, so don't worry.
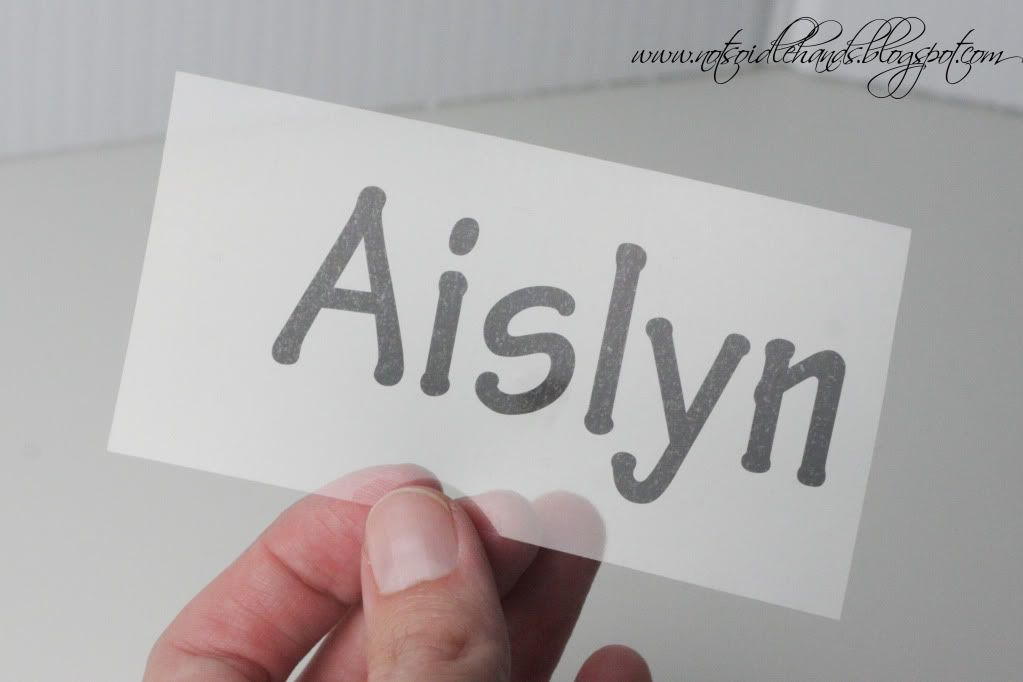
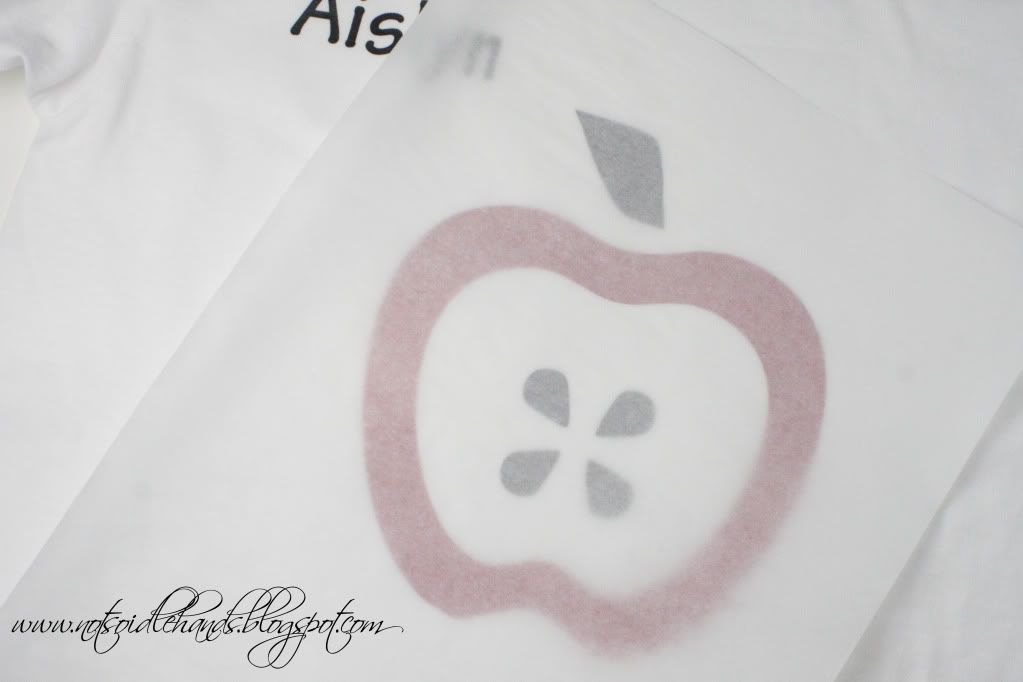
Peel away the negative space and the image/words stay on the clear carrier sheet (which is tacky as well).
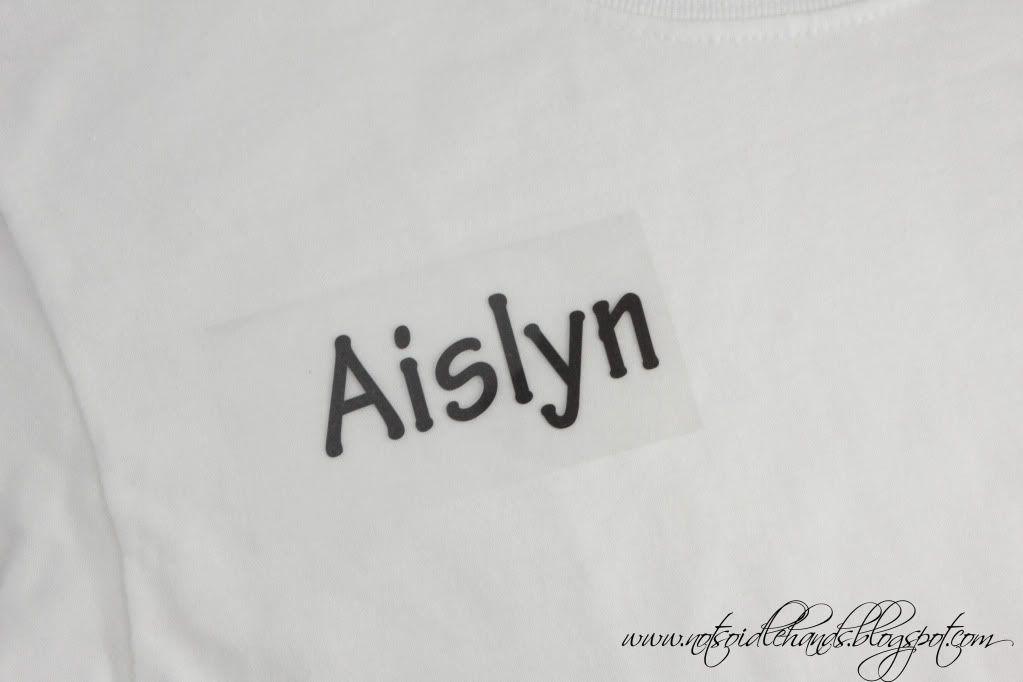
Then turn that puppy over and place it where you want it on the shirt. The clear sheet will be on top.
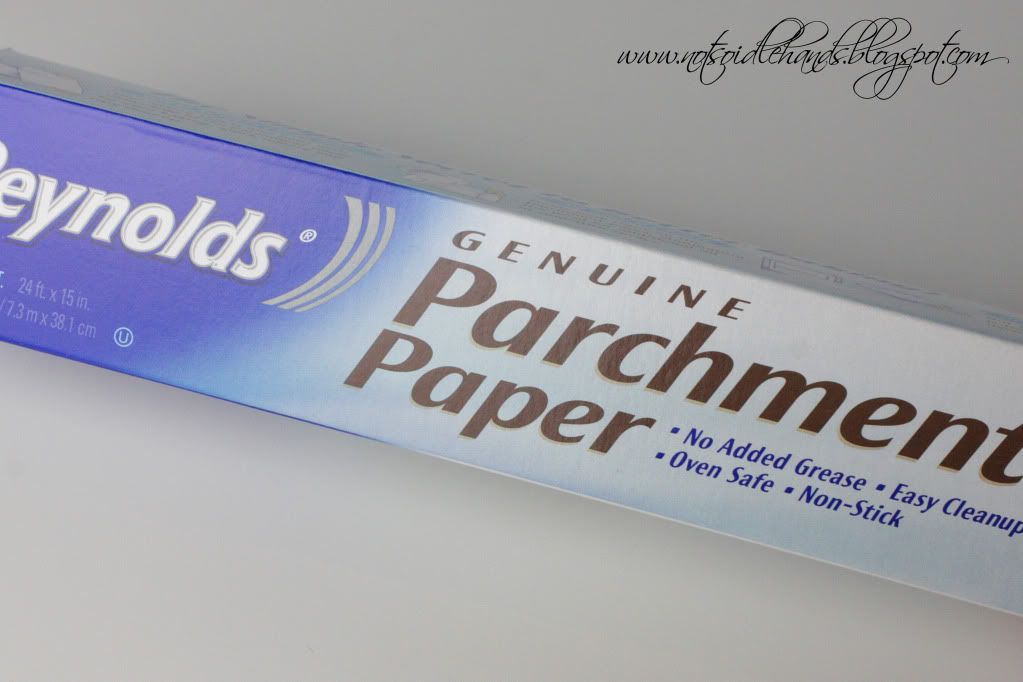
Grab your handy-dandy parchment paper and put a sheet over your image and iron it on while using medium pressure (ie. press down as you iron ;) for about 20-30 seconds.
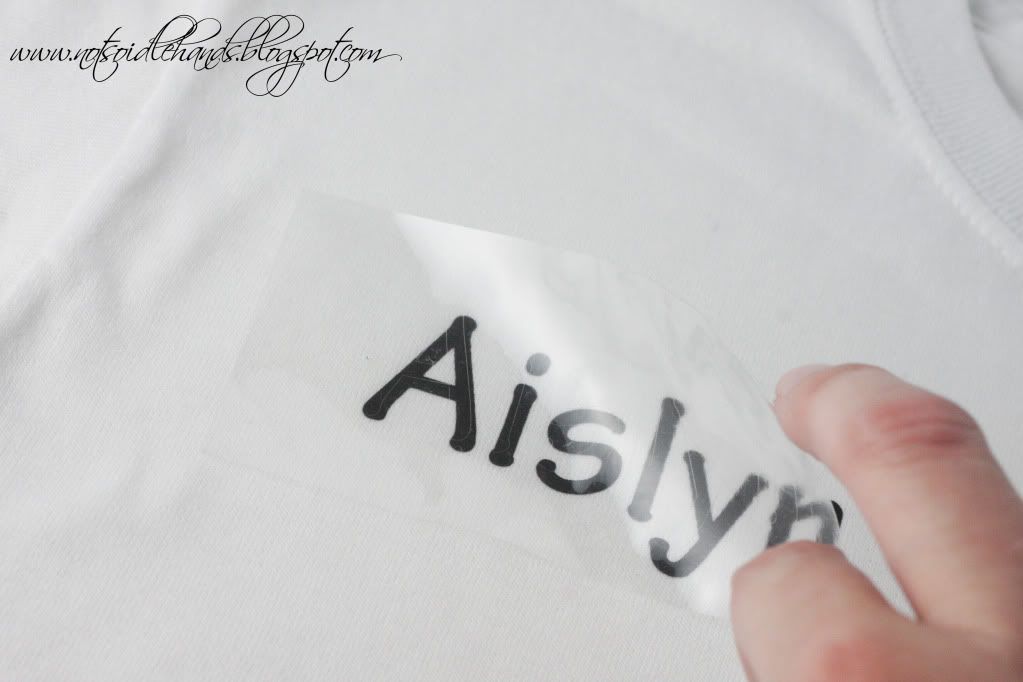
Then, while it's still hot (again, check to see if yours need to peel while it's hot or cold), peel away the clear sheet and then lay down the parchment again and iron for another 15-20 seconds-ish (just to make double sure it's stuck).
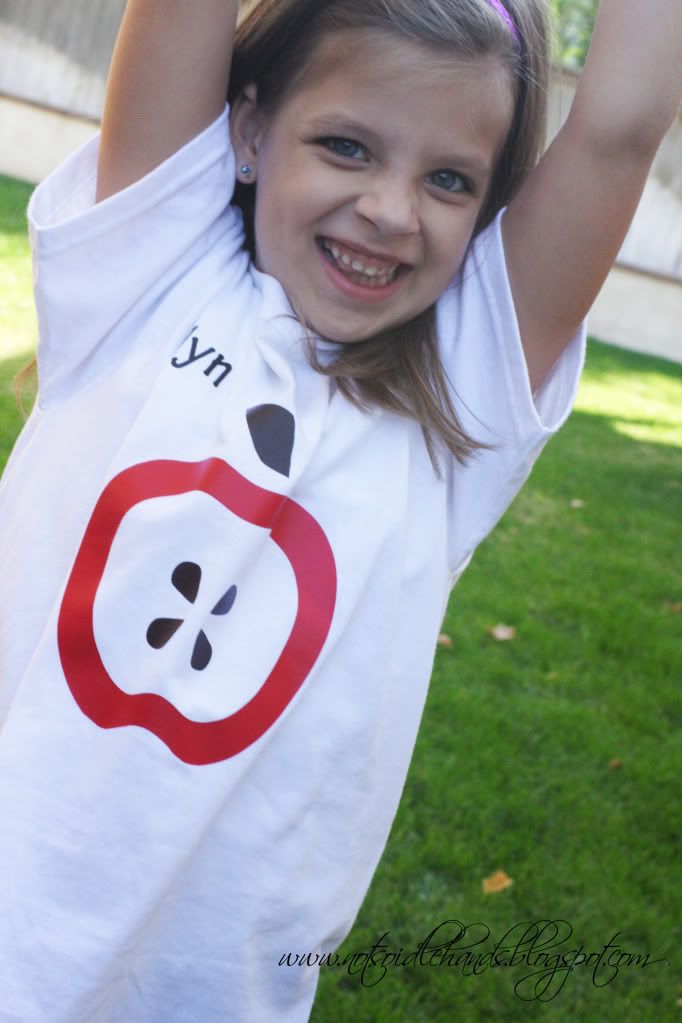
That's all!! Now you have your super-duper cute t-shirt aaannnnnddddd it was easy peasy!
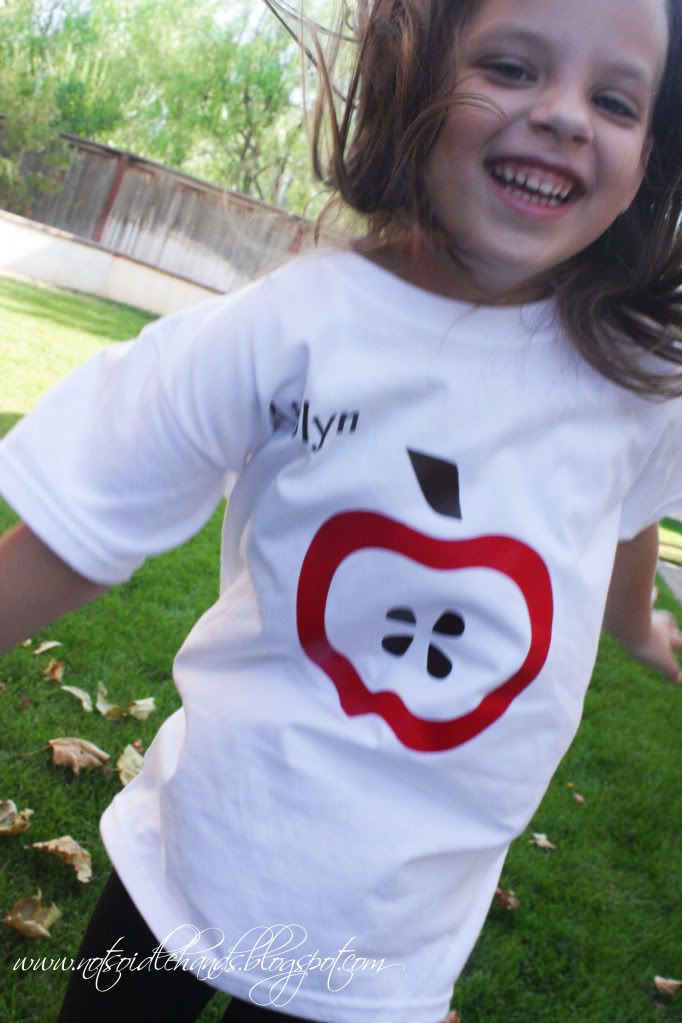
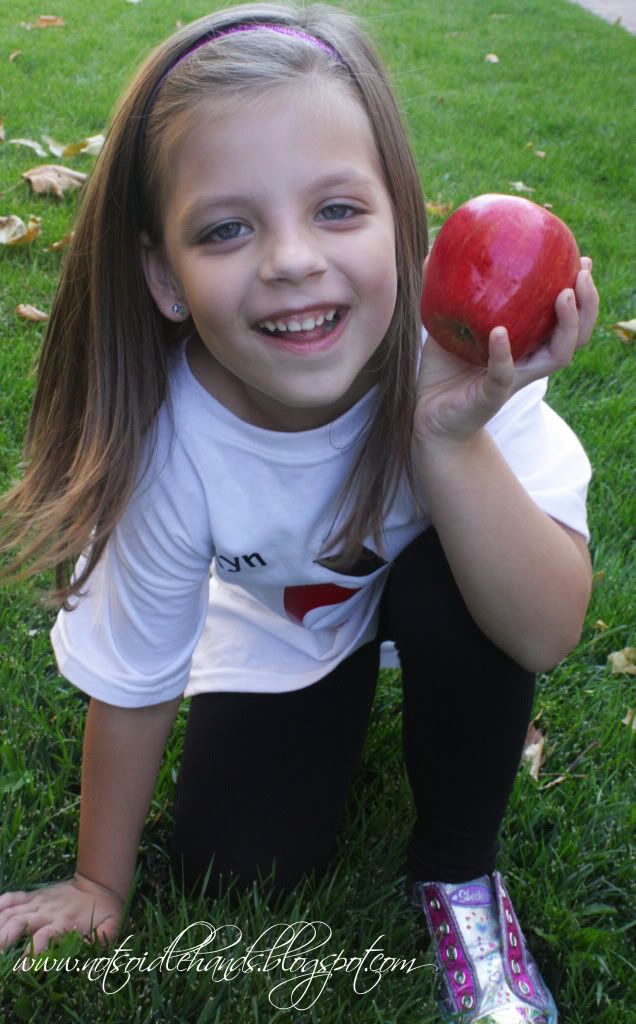
The shirts they got turned out to be pretty big.....so I had her throw on a cute pair 'o leggings and she was adorable and SO ready to go on her 1st field trip ;)
I got my vinyl from Signwarehouse.com (as always) and made sure to get the iron-on stuff (EnduraTex Iron-On)....the other kinds, I was told, need to be used with a t-shirt press.
It says you can dry these on low, but.....to be safe I would wash, inside out, in cold water and hang up to dry. The heat may shrink the shirt around the decal and make it pucker. Especially if they are 100% cotton, like these cuties.
Stay tuned for a new segment I want to try out.....
Have fun!!
No comments:
Post a Comment